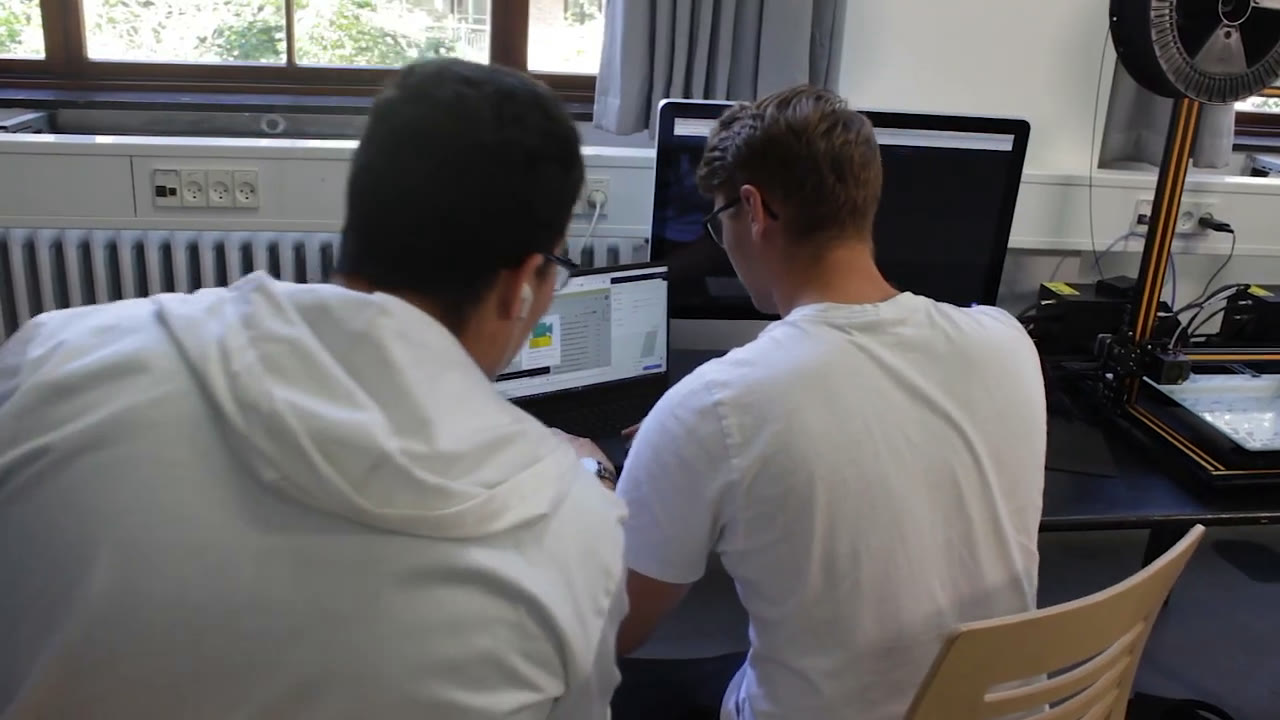
3D printing in schools earns its place when students design something, hold the printed result, find what is wrong with it and print it again. The printer is the easy part. The hard part is running it for 30 students, a few printers and one teacher without the machines sitting idle or the filament running out in week three. This guide covers the whole job: why it is worth doing, how to choose and place printers safely, what a working classroom workflow looks like, how to manage many students, what it costs and what IT will ask before they say yes.
It is written for the teacher or STEM lead who has been handed the printers (or the budget) and needs a plan. Nothing here is specific to one printer brand.
Why 3D printing in schools is worth the effort
The value of classroom 3D printing is the loop, not the object. A student sketches an idea, models it, prints it, and then has to explain why the hinge snapped or the lid does not fit. That cycle of design, test and revise is what engineering and design curricula ask students to practise, and a printer makes it concrete in a single lesson or a short project.
It also reaches beyond technology classes. A physical model helps in subjects where students otherwise work from flat pictures: a molecule in chemistry, a terrain model in geography, a replica artefact in history, a prototype in a business or product-design project.
The common failure is not a bad printer. It is a good printer that only one teacher knows how to use. The Media High School of Copenhagen, SimplyPrint's first school customer, describes exactly that before-and-after:
"Before SimplyPrint, our 3D printers were collecting dust. Now everyone can join in, and every teacher has the courage to include it in their teaching."
Rasmus Dietz, principal, Media High School of Copenhagen
Their full story is on the schools testimonial page. The lesson generalises: plan for many teachers and many students from day one, not for one enthusiast.
Which 3D printer should a school buy?
For almost every school, the answer is an FDM (filament) printer. Resin printers produce finer detail, but they involve liquid resin, gloves, solvent washing and curing, which is a lot to supervise in a classroom. FDM printers melt a plastic filament, and PLA filament is the usual classroom choice.
Criteria that matter more than print speed:
| What to check | Why it matters in a school |
|---|---|
| Enclosure | Keeps fingers away from the hot nozzle and moving parts, and helps contain emissions. |
| Prints PLA reliably with little tuning | Less time troubleshooting, more time teaching. |
| Spare parts and repair guides you can buy | Nozzles, build plates and belts wear out. A printer you cannot repair becomes a shelf ornament. |
| Network connection | A class shares printers. USB sticks and one-at-a-time laptops do not scale to 30 students. |
| Supported by your management software | Check before ordering, not after. |
| Build volume | Most class projects are small. A standard desktop size is plenty; buy more printers rather than bigger ones. |
Several mid-size printers usually beat one large one. When one printer is down for maintenance, the class keeps printing, and more students get prints back in the same lesson.
How to keep classroom 3D printing safe
Treat a 3D printer like any other lab equipment: it has hot parts, moving parts and emissions. Keep the safety plan simple and written down.
Heat and moving parts. The nozzle and heated bed get hot enough to burn. Enclosed printers reduce the risk; for open-frame printers, place them out of easy reach and make "hands off while printing" a class rule.
Emissions and ventilation. Desktop FDM printers release ultrafine particles and volatile organic compounds while they print. UL's Chemical Insights research on 3D printing notes that PLA generally emits fewer contaminants than higher-temperature materials such as ABS and nylon, and that the highest priority is to place printers where ventilation can dilute emissions or to vent them directly outside. The Washington State Department of Health guidance for schools recommends enclosing printers and exhausting emissions outdoors, placing printers away from student desks, and prioritising PLA. Rules differ between states and countries, so check yours with your facilities or health and safety lead.
Supervision and induction. Decide who may load filament, clear a jam or open the printer, and who may only submit files. Teach a short safety induction before a student's first print, and keep a record of who completed it. That record is easier to keep when the induction is enforced by software, which the workflow section below covers.
What a classroom 3D printing workflow looks like
A workflow that survives a full class has six steps. Each one has an owner.
- Design. Students model in a browser tool such as Tinkercad, which runs on Chromebooks and school laptops. Older students may use Onshape, or Fusion through an add-in. All three can send a design straight to SimplyPrint without saving and uploading a file by hand.
- Slice. Slicing turns the model into printer instructions. SimplyPrint's browser slicer runs on Chromebooks, iPads and laptops with nothing to install, and a basic mode keeps the choices simple for younger students.
- Submit to a queue. Instead of emailing files or queuing at the printer with a USB stick, students add their sliced job to one shared print queue.
- Teacher approval. The teacher reviews each submission before it can print, and approves it, denies it or sends it back for changes with a comment. This is the step that catches the 14-hour print and the model that will never stick to the bed. See print approval for schools.
- Print. Approved jobs wait for a free printer. Someone with permission to start prints sends them to a printer, so students never need to touch the machine settings.
- Reflect. Hand back the print with a question: what worked, what failed, what would you change? The reprint after a failed first attempt is often where the learning happens.
For the Tinkercad version of this workflow, click by click, read how to 3D print from Tinkercad on a Chromebook and how to manage Tinkercad classroom 3D printing. If your school has no Tinkercad, the Chromebook slicer guide and printing from an iPad or Chromebook cover the device side.
Printgodkendelse
Gennemgå og godkend elevers print, før de kører
How to manage many students on a few printers
3D printing in the classroom breaks down at scale for predictable reasons: nobody knows whose print is on the plate, a few students use most of the filament, and new students start printing before anyone has shown them how. Each problem has a structural fix.
Give every student an account. Shared logins make it impossible to know who printed what. SimplyPrint's Education plan includes 500 users, and students can sign in with the school's Google Workspace or Microsoft Entra ID account, or any SAML or OIDC provider, so there are no extra passwords to manage. SSO for education covers the setup.
Organise students into classes, and mark the teachers. Classes group students so each teacher manages their own groups rather than the whole school. Teachers get their own role and a dashboard showing pending approvals. See users and classes for schools.
Set a quota. A quota caps what each student can print in a period: number of prints, grams of filament, print time or cost. It can reset daily, weekly, monthly or per semester, following the terms you define in your school settings. Different groups can get different allowances, so an advanced group can have more than a first-year class. See print quotas for schools.
Lock printing behind a safety course. The SimplyPrint Academy has built-in 3D printing courses and lets you write your own. Assign a course as blocking, and the student cannot start a print, slice or use the queue until they pass it. That turns your safety induction into something the system enforces, not a list you check by hand.
Plan for Chromebooks from the start. If students cannot install software, every tool in the chain has to run in the browser. That rules out desktop-only slicers on managed student devices.
What does 3D printing in schools cost?
The sticker price of a printer is the smallest part of a multi-year budget. Plan for four lines:
| Budget line | What drives it | How to keep it predictable |
|---|---|---|
| Printers | Number of printers, enclosed or open | Several mid-size printers instead of one large one |
| Filament | Every print, including failed ones | Per-student quotas, approval before printing, PLA as the default |
| Spare parts and maintenance | Nozzles, build plates, belts, fans, staff time | Keep a small stock of wear parts, and budget teacher or technician time each term |
| Software | Number of printers and users | Education pricing with 500 users included |
For software, SimplyPrint's Education plan costs $40 a month and includes two printers and 500 users. Extra printers are $20 a month each, and the per-printer price drops as the fleet grows, down to roughly $11 a month per printer for large labs (see pricing). There is a free trial, and the plan is self-serve, so a teacher can run a real class through it before procurement gets involved. Districts with several schools can use a district setup with one merged invoice and a district panel for adding schools and printers.
Students who want to keep printing at home can get a discount on a personal SimplyPrint plan through the student discount: 40% for verified students, or 60% if their school also uses SimplyPrint.
What IT will ask before saying yes
The reader of this guide is usually a teacher, not IT. Still, IT or the data protection lead will ask a short list of questions, and having the answers ready saves weeks.
- Does anything need installing on student devices? Not with a browser-based workflow. Students use a web browser; the printers connect to the service, not to student laptops.
- How do students sign in? Through the school's identity provider: Google Workspace, Microsoft Entra ID, or another SAML or OIDC provider.
- Is there a data privacy agreement? SimplyPrint has signed the Student Data Privacy Consortium (SDPC) multi-state NDPA, which eligible districts in 15 US states can subscribe to through the General Offer, and signs custom DPAs for other schools.
- FERPA and COPPA? SimplyPrint is FERPA and COPPA aligned and acts as a "school official" under FERPA. Aligned is not the same as a certification, and it is worth saying so plainly.
- Where is the data? Hosted in the EU by default. SimplyPrint is a Danish company and GDPR compliant.
- Which network do the printers join? Agree this with IT early. Printers need a network connection, and many schools put them on a separate network.
The certifications page collects the privacy documents in one place for procurement.
A rollout checklist for your first term
Use this as the plan for a first term. Each item has an owner, because a checklist with no names does not get done.
- Name an owner. One teacher or technician owns the printers, spare parts and the safety sheet.
- Place the printers. A ventilated room, away from desks, near power and the network. Confirm with facilities.
- Choose materials. Start with PLA only. Add other materials later, after checking ventilation guidance.
- Write the one-page safety sheet and decide who may touch the printers.
- Set up accounts. Connect SSO, create classes, mark the teachers.
- Set the rules. Turn on approval for student groups, set a first quota per term, and assign a blocking safety course.
- Get IT and privacy sign-off with the answers above.
- Pilot with one class. Run one short project end to end, from design to reflection, and note where students got stuck.
- Review after four weeks. Check failed prints, filament use and approval backlog. Adjust the quota and approval rules, then add the next class.
If you want a guided version of this plan, the schools onboarding journey walks through pilot, expansion and full rollout. For the overview of 3D printing in education across age groups, start at the education hub, then go to K-12 classrooms or higher education labs.
What makes 3D printing for schools stick
The schools that keep printing after the first term are the ones that made it boring in the best sense: every student has an account, every print goes through one queue, a teacher approves what runs, and the filament budget lasts the term. The printer choice matters less than that routine.
Start small, with one class and one project, and put the structure in place before you add more students. SimplyPrint handles the parts in the middle of the workflow (browser slicing, the shared queue, teacher approval, quotas and safety courses), so the teacher can spend the lesson on the design problem instead of the printer.