To 3D print from Fusion 360, you export your design as a mesh (STL or 3MF) and then slice that mesh into printer instructions, because Fusion produces solid CAD models and not the G-code a printer runs. The fast modern way to do this is the SimplyPrint Fusion 360 add-in: it adds a Send button inside Fusion, and one click ships your model to the SimplyPrint cloud slicer in your browser, where you slice it and print to any connected printer. That is the honest short answer to how to 3D print from Fusion 360 in 2026, and the rest of this guide covers both the modern one-click path and Fusion's own export options so you can pick the right one.
Most Fusion 360 3D print tutorials still teach the long manual loop: export an STL, open it in a desktop slicer, save the G-code, copy it to an SD card or USB stick, and walk it to the printer. That works, but it is four or five extra steps every single time you tweak a model. The add-in keeps Fusion as your modeling tool and moves slicing into the browser, so you iterate faster without juggling files between programs.
Can Fusion 360 export G-code or print directly?
No. Fusion 360 is a parametric CAD program. It builds solid bodies and components with exact sketch-based dimensions, which is what makes it the right tool for mechanical parts: brackets, enclosures, gears, jigs, and anything that has to fit existing hardware. But a 3D printer does not understand a solid body. It understands G-code, the layer-by-layer movement and extrusion instructions a slicer generates from a mesh.
So the path from Fusion to a finished print always has two stages, whichever route you take:
- Export a mesh. Fusion converts your solid into a triangulated surface (STL) or a richer mesh container (3MF). This is the step Fusion handles natively.
- Slice the mesh. A slicer turns that mesh into G-code for your specific printer, nozzle, and material. This is the step Fusion does not do.
The only real choice is where the slicing happens. The traditional answer is a desktop slicer you install and maintain. The SimplyPrint answer is the cloud slicer in your browser, reached in one click from the Fusion add-in, with no install and nothing to keep updated.
How to 3D print from Fusion 360 in one click
The SimplyPrint add-in is the shortest path from a Fusion design to a running print. It adds a SimplyPrint button to Fusion's UTILITIES panel, plus a second one right next to the built-in 3D Print button on the MAKE panel. Click either, pick your format and mesh quality, hit Send, and SimplyPrint opens in your browser with the model already loaded, ready to slice, queue, or print.
The whole loop is three moves: install the add-in once, log in once, then Send every time after that. Here is the full round trip in the product, from the Send dialog in Fusion to the model landing in the browser:
Because the export and the slicer hand-off are a single click, there is no exported file sitting in your downloads folder, no SD card to find, and no desktop slicer to launch separately. The add-in even uploads in chunks, so multi-hundred-megabyte designs send without choking.
How to install the SimplyPrint Fusion 360 add-in
The add-in is being submitted to the Autodesk App Store. Until it lands there, you install it one of two ways: the Windows installer (the quick path) or a manual sideload from the zip (Windows or macOS). Both end with the same SimplyPrint button inside Fusion.
Option 1: Windows installer (recommended)
- Download the installer from the SimplyPrint Fusion 360 integration page. You get a
SimplyPrintFusionExport-installer.exefile. - Run it and click through the three steps. The installer drops the add-in straight into Fusion's add-ins folder for you.
- Open Fusion 360, or restart it if it was already running.
- Press
Shift+Sto open the Scripts and Add-Ins dialog, switch to the Add-Ins tab, select SimplyPrintExport, and click Run. Tick Run on Startup so it loads automatically next time.
Option 2: Manual install on Windows or macOS
Mac users and anyone who would rather not run an installer take this path. It uses Fusion's own add-in loader.
- Download the zip from the integration page. You get
SimplyPrintFusionExport.zip. - Extract it to a folder you will keep around. Your Documents folder is a safe choice. Do not leave it on your desktop or in Downloads where it might get cleaned up.
- Open Fusion 360, press
Shift+S, and switch to the Add-Ins tab. - Click the green + button next to My Add-Ins, point it at the extracted
SimplyPrintExportfolder, and click Open. - Select SimplyPrintExport in the list, click Run, and tick Run on Startup.
That is the whole install on either platform. There is no separate runtime and no companion app to keep running in the background.
How to export STL or 3MF from Fusion 360 (the manual route)
Even if you use the add-in, it helps to understand what Fusion is doing under the hood, and the manual export still matters when you want a file on disk. Fusion gives you two built-in ways to get a printable mesh out of a design.
The first is the MAKE > 3D Print command (older Fusion versions list it under Utilities > Make). Select the body or component you want, open the dialog, and Fusion shows a live mesh preview before it writes the file. The second is a plain File > Export, where you choose STL or 3MF as the file type and Fusion writes the mesh to disk. Autodesk documents both routes in its own Fusion 360 3D print and export guidance if you want the vendor's reference. When people search for how to do a Fusion 360 export STL, this is the menu they are after.
Either way, three things decide whether the export prints well:
- Mesh refinement. Fusion offers Low, Medium, and High refinement presets, and a Custom mode that exposes surface deviation, normal deviation, and maximum edge length, as covered in Autodesk's mesh export documentation. Curved surfaces need more refinement than flat ones. Too low and a cylinder prints as a faceted prism; too high and the file balloons with triangles your printer cannot resolve anyway. Medium is a sane default for most parts; bump to High for smooth organic curves.
- STL versus 3MF. STL is a bare triangulated surface with no units baked in, which is why a Fusion STL sometimes lands in a slicer at the wrong size. 3MF carries units and color and keeps multi-body designs organized. For a single mechanical part STL is fine; for anything with units sensitivity or color, prefer 3MF.
- Units. Confirm your design units before exporting. Fusion models in centimeters internally and a millimeter-expecting slicer can misread a unit-less STL by a factor of ten. This is the single most common Fusion-360-to-3D-printer scaling mistake. 3MF avoids it by storing units; with STL, double-check the model dimensions once it lands in the slicer.
The SimplyPrint add-in exposes the same format, scope, units, and mesh-quality choices in its dialog, so you make these decisions once at Send time instead of clicking through a separate export wizard.
Online Cloud-Based Slicer
Use PrusaSlicer, OrcaSlicer, BambuStudio, ElegooSlicer, CrealityPrint & Cura online in the cloud - on any device, anywhere!
The manual flow versus the one-click flow
Here is the same job done both ways, side by side, so the trade-off is concrete.
Neither route changes what Fusion does. Both start with the same mesh export. The add-in simply removes the file shuffling between the export and the printer, which is where most of the friction and most of the scaling and units mistakes live.
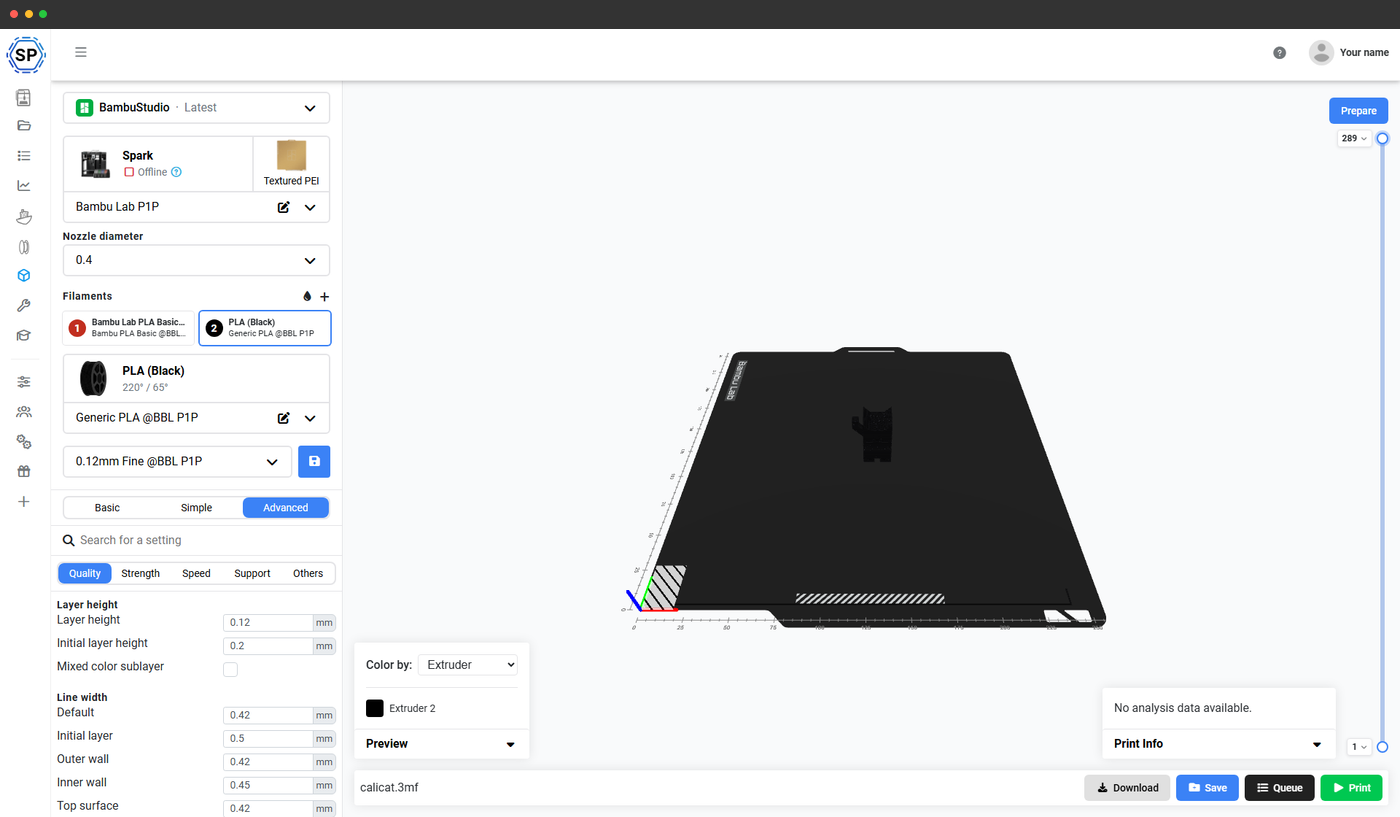
How slicing works once the model lands
After you Send, the model opens in the SimplyPrint cloud slicer in your browser. This is a real slicer, not a stripped-down preview: it runs the same OrcaSlicer, PrusaSlicer, BambuStudio, ElegooSlicer, CrealityPrint, and Cura engines you would use on the desktop, so the G-code it produces is identical in quality. You pick layer height, infill, walls, supports, and a printer profile, then preview the sliced result layer by layer before you commit.
From the sliced result you have three choices, the same landing you get from any SimplyPrint entry point:
- Print now to a connected printer. The job dispatches wirelessly with no SD card.
- Queue it so it prints when a printer frees up, which is how print farms keep machines busy.
- Save it to your file library so the next revision starts from the same profile.
Because slicing lives in the browser, the same workflow runs on a laptop, a desktop, or a Chromebook, and your slicer profiles follow your account rather than living on one machine. If you want the slicer details on their own, the browser-based slicer guide covers profiles, engines, and import.

Can I print to any 3D printer after sending from Fusion 360?
Yes. Once the model is in SimplyPrint, the printer brand stops mattering for the workflow. SimplyPrint connects to 130+ brands and 600+ models through OctoPrint, Klipper (via Moonraker), or a built-in integration, so a Fusion design can land on a Prusa, a Bambu Lab, a Creality, a Voron, or a mixed farm of all of them without changing a thing about how you send.
A few connection notes worth knowing:
- Klipper printers connect through Moonraker, and OctoPrint printers through the SimplyPrint plugin, both of which appear like any other printer once linked.
- Bambu Lab printers connect through the SimplyPrint Client, a small app you run on an always-on computer or Raspberry Pi on the same network. With it running, the Bambu printer shows up as a normal target and the Fusion add-in can send to it.
- Print farms dispatch the sliced job to whichever machine is free, or to a specific one you pick, all from the browser tab the add-in opened.
So the answer to "can I print to any printer after sending from Fusion 360" is yes, for any printer SimplyPrint can already talk to, which is most of them.
Common Fusion 360 to 3D printer mistakes
A short list of what trips people up most often when going from Fusion to a printed part, and how to avoid each:
- Unit-less STL scaling. A Fusion STL with no embedded units can read ten times too large or too small in a slicer. Confirm the dimensions when the model lands, or export 3MF, which stores units.
- Refinement set too low. A Low-refinement export turns curves into visible facets. Bump to Medium or High for anything round, and use Custom surface deviation for fine detail.
- Exporting the whole design when you wanted one body. Use the scope control to send only the body or component you mean to print, not the entire assembly.
- Forgetting to add design history is not the same as a watertight solid. A model with self-intersecting bodies can export a broken mesh. Combine or trim overlapping solids in Fusion first so the export is one closed volume.
- Treating Fusion like a slicer. Layer height, infill, and supports are slicer settings, not Fusion settings. Set them after the model lands in the cloud slicer, not in Fusion.
None of these are SimplyPrint-specific. They are the baseline any Fusion-to-print workflow has to respect. The benefit of the add-in is that it removes the file-shuffling steps where extra mistakes creep in, and puts the slicer settings in front of you in the browser the moment the model arrives.
Where Fusion fits in the SimplyPrint workflow
Fusion 360 is the right tool for precise, dimensioned, mechanical design, and SimplyPrint is the right tool for slicing and printing what you design. The add-in is the bridge: it keeps you in Fusion for modeling and in the browser for slicing, with one click between them. From the moment the model lands, the cloud slicer handles the slice, the file library stores it for next time, and the print queue dispatches it to the right printer.
If you also design in other tools, the same downstream flow applies. The Fusion add-in is one of several entry points into the same pipeline: see how to 3D print from Blender for the sculpting and organic-modeling path, and the browser-based slicer guide for the design-tool-agnostic route. Whatever you model in, the slice and the print happen in the same place.
For Fusion users specifically, the payoff is fewer steps and fewer mistakes. No exported file to manage, no desktop slicer to keep updated, no SD card. Model your part, click Send, slice in the browser, and print.