To convert STL to gcode you have to slice the file, not run it through a file converter. An STL stores only the shape of your 3D model, while G-code is a printer-specific list of movements, temperatures, and extrusion amounts, so the two are not interchangeable formats. A program called a slicer reads your STL, splits the model into layers tuned for your exact printer and filament, and writes out the G-code the machine actually follows.
This guide explains the difference between STL, 3MF, and G-code in plain terms, shows the real step-by-step way to convert STL to gcode, and warns you off the thin "STL to G-code converter" web tools that ignore your printer. By the end you will know exactly how to produce reliable G-code, for free, in any browser on any device.

What's the difference between STL, 3MF, and G-code?
STL, 3MF, and G-code sit at three different stages of the 3D printing pipeline. STL and 3MF describe the model you want to print, while G-code describes how a specific printer should build it. You move from model to print by slicing, which reads the geometry and produces the G-code. Think of STL as a photo of an object, 3MF as a project file that also remembers your settings, and G-code as the turn-by-turn directions your printer follows. The table below maps each one to what it stores and where it fits.
| Format | What it stores | Stage | Printer-specific? |
|---|---|---|---|
| STL | Raw surface geometry (a mesh of triangles) | Model | No |
| 3MF | Geometry plus color, units, multi-plate, and often the full slicer project | Model / project | No (until sliced) |
| G-code | Exact movements, temperatures, fan, and extrusion per layer | Print job | Yes |
The key takeaway: STL and 3MF are inputs, G-code is the output, and the slicer is the only thing that bridges them.
Can a 3D printer print an STL file directly?
No. A 3D printer cannot print an STL directly, because an STL contains no instructions the machine can execute. It is a static description of a surface, a mesh of triangles with no notion of layers, speed, temperature, or your printer's build volume. The printer's firmware only understands G-code, which lists each move in order: heat the nozzle to 215 degrees, move to this coordinate, extrude this much filament, turn the fan on at this layer, and so on.
That is why every 3D print workflow includes a slicing step. The slicer takes your STL (or 3MF), asks which printer and filament you are using, and calculates the thousands of individual moves needed to build the object. Skipping that step is impossible: there is no firmware that reads STL files.
How to convert STL to G-code, step by step
Converting an STL to G-code means slicing it. The process is the same whether you use a desktop slicer or a browser-based one, and it always starts by telling the slicer about your printer. Here is the reliable path from STL to a print-ready file:
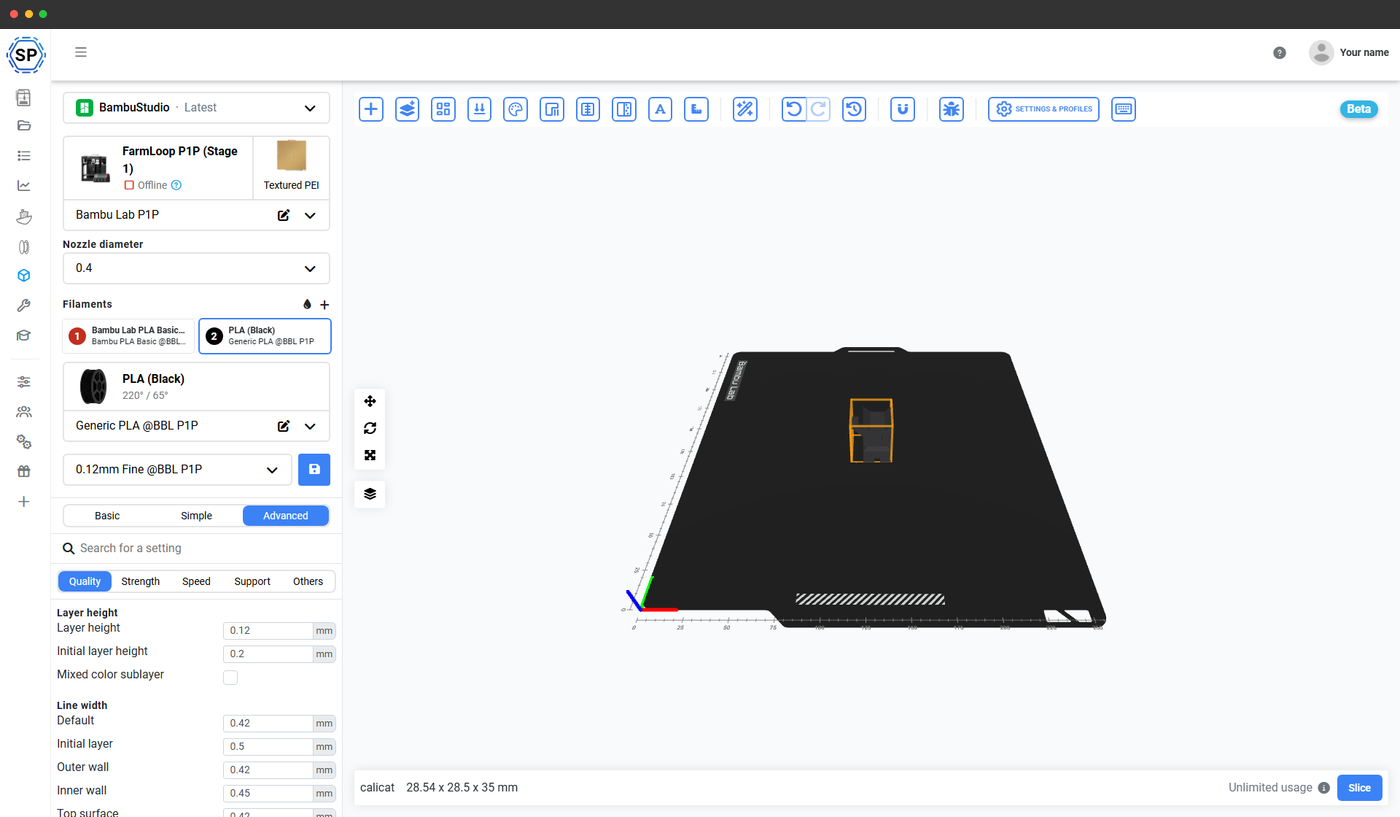
- Open a slicer and select your printer profile. This is the most important step. The slicer needs your printer model, nozzle size, and bed size so the G-code matches your machine.
- Import the STL or 3MF file. Drag it in or upload it. The model appears on a virtual print bed.
- Choose a filament profile. PLA, PETG, ABS, and so on each need different temperatures and speeds.
- Set layer height and infill. A 0.2 mm layer height and 15 percent infill is a sensible starting point for most prints.
- Add supports if the model has overhangs. The slicer can generate these automatically.
- Click slice. The slicer calculates every toolpath and produces the G-code, along with a time and filament estimate.
- Save or send the G-code. Download it to an SD card or USB drive, or send it straight to a connected printer.
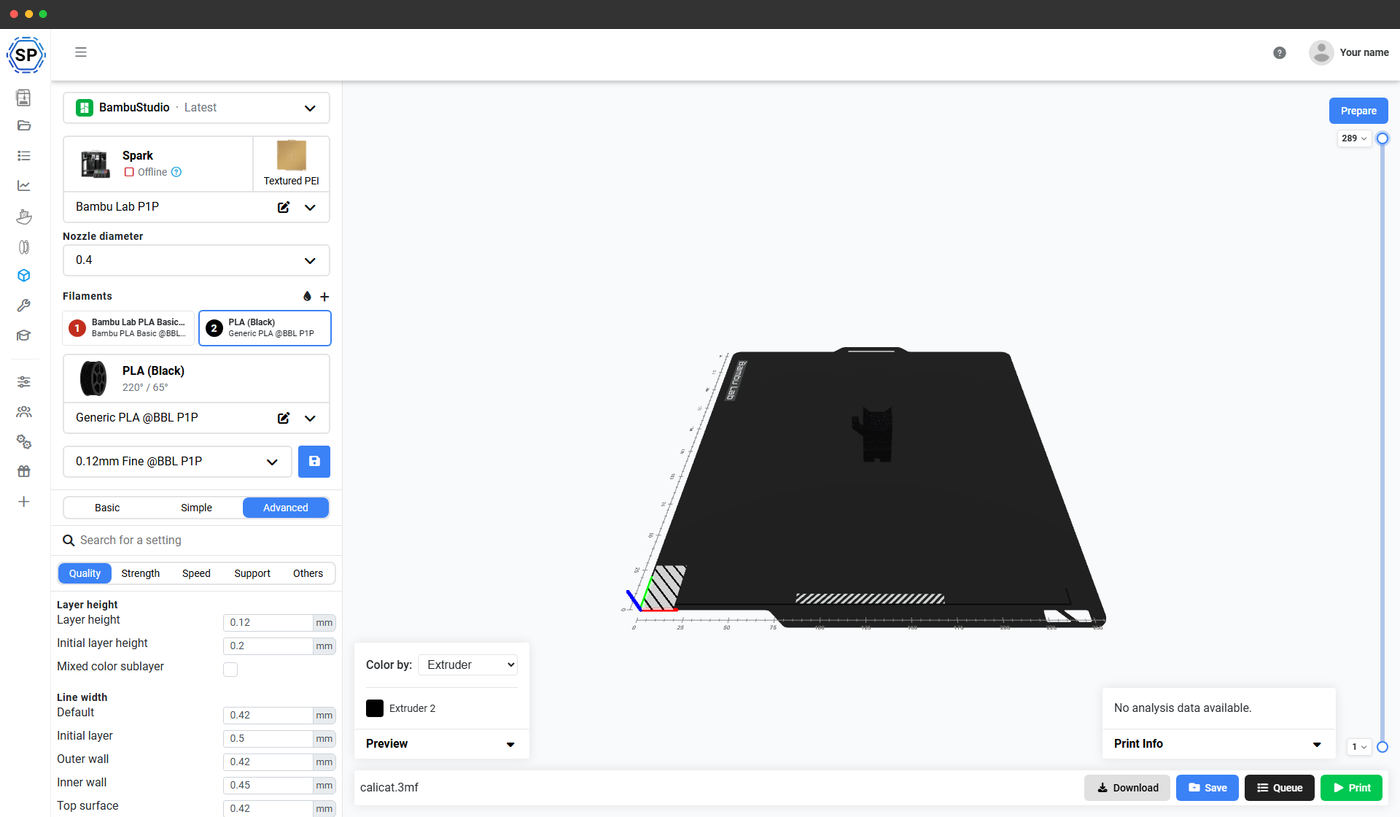
You can run every one of these steps in the SimplyPrint cloud slicer without installing anything, which is covered below.
Why "STL to G-code converter" tools give bad results
Search results are full of one-click "STL to G-code converter" pages that promise an instant download, and they are the main reason beginners get failed prints. G-code is printer-specific, so a file that does not know your printer is almost guaranteed to print badly. These thin converter tools skip the one thing that matters most: a real printer profile.
Here is what those quick converters typically get wrong:
- No printer profile. They apply a generic bed size and origin, so the model can print off the edge or in mid-air.
- No nozzle or filament awareness. Wrong temperatures and flow cause stringing, weak layers, or clogs.
- No support or adhesion control. Overhangs collapse and parts peel off the bed.
- No preview. You cannot check the toolpaths before committing filament and time.
A genuine slicer asks for your printer first, then produces G-code calibrated to it. That is the difference between "convert stl to gcode" as a marketing checkbox and slicing that actually prints. As the OrcaSlicer documentation makes clear, the printer, nozzle, and filament settings are inseparable from the resulting toolpaths.
Convert STL to gcode online with no install (Chromebook or tablet)
You can convert STL to gcode online for free, with no software to install, by using a cloud slicer. A cloud slicer runs the slicing engine on a server and streams the G-code back to your browser, so a Chromebook, tablet, or low-spec laptop can produce the same result a powerful desktop would. SimplyPrint does exactly this, and it is the part no thin converter tool can match: it runs the genuine engines.
SimplyPrint runs the unmodified, upstream OrcaSlicer, PrusaSlicer, Bambu Studio, ElegooSlicer, and Creality Print engines through their official command-line interfaces. That means your G-code is identical to what the desktop apps produce, and any profile you tuned at home imports and works the same. You are not getting a watered-down generic engine, you are getting the real slicer in a browser tab.
OrcaSlicer Online
Use OrcaSlicer online in the cloud - on any device, anywhere!
To convert an STL to G-code online with SimplyPrint:
- Sign up free. No credit card, and the free plan includes monthly cloud slices.
- Upload your STL or 3MF. Files live in your account, accessible from any device.
- Pick the engine and printer profile. Choose OrcaSlicer, PrusaSlicer, Bambu Studio, ElegooSlicer, or Creality Print and your printer from thousands of built-in profiles.
- Slice and download. The job runs on our servers; download the G-code, queue it, or send it to a connected printer.
This is the same workflow described in our guide to slicing on a Chromebook, and it works identically on an iPad or a school-managed laptop where desktop slicers are blocked.
STL vs gcode vs 3MF: which should you keep?
The STL vs gcode question, and the wider 3mf vs stl vs gcode question, really comes down to sharing and re-slicing: keep the model file, not the G-code. STL and 3MF can be re-sliced for any printer, while G-code is locked to the one machine it was sliced for. If you hand someone your G-code, they can only print it on a printer identical to yours, with the same nozzle and filament. Hand them the STL or 3MF and they can slice it correctly for their own setup.
This is where 3MF earns its place. Because a 3MF can carry the full slicer project (geometry, plate layout, colors, and your settings), it is the format to share when you want someone to reproduce your exact print. We cover that in depth in what is a 3MF file. The short version for choosing what to keep:
- Keep the STL or 3MF as your source of truth for re-slicing later.
- Keep the G-code only for the specific printer you sliced it for, as a quick reprint.
- Share the 3MF when you want a friend or a print farm to reproduce your settings exactly.
A platform like SimplyPrint keeps the model and its sliced G-code together in your account, so you always have both without juggling files. With shared profiles across a fleet, one tuned setup can slice consistently on every machine in a farm or classroom, which is impossible to do by passing G-code around.
What this means for beginners
If you came here looking for a button that turns an STL into G-code, the honest answer is that the button is a slicer, and using a real one is the difference between a clean first print and a stringy mess. The "conversion" is slicing, and slicing needs to know your printer. Once you internalize that, the whole pipeline makes sense: model in STL or 3MF, slice for your machine, print from G-code.
The good news is that doing it properly is free and takes minutes. You do not need a powerful PC or any installed software. Upload your STL, pick your printer, click slice, and you have correct G-code, on whatever device you happen to be holding.