Setting up SimplyPrint on Longer LK 5 Pro: Creality Nebula Smart Kit method
Creality Nebula Smart Kit setup for this printer. Follow the steps to connect your Longer LK 5 Pro 3D printer to SimplyPrint.

Your Creality Nebula Smart Kit requires custom firmware to work with SimplyPrint.
We know that sounds technical — and it is one of the more involved setups — but we've worked hard to make it as straightforward as possible.
Some printer manufacturers don't provide an easy way for platforms like SimplyPrint to communicate with their printers. The community has developed alternative firmware that unlocks these capabilities.
Yes! The firmware is developed by active communities, can typically be removed, and preserves your printer's core functionality. You can usually roll back or factory reset if needed.
Some manufacturers may consider custom firmware a warranty modification. The risk is low — to date, we haven't had a single known case of a SimplyPrint user damaging their printer or being denied warranty repair because of this setup.
That said, it's ultimately your choice to proceed.
Estimated time: 15–30 minutes
We'll guide you through every step.
This setup requires SSH — a way to send text commands to your printer from your computer. We know it sounds technical, and we wish we could avoid it, but unfortunately the printer's design leaves us no other option.
The good news: it's simpler than it sounds. You'll just copy and paste a few commands we provide — no coding required.
In this guide we will go through:
NEBULA_ota_img_V6.*.img file from the latest
release on GitHub. .img file to the USB stick that came with your Nebula. 
192.168.0.42). 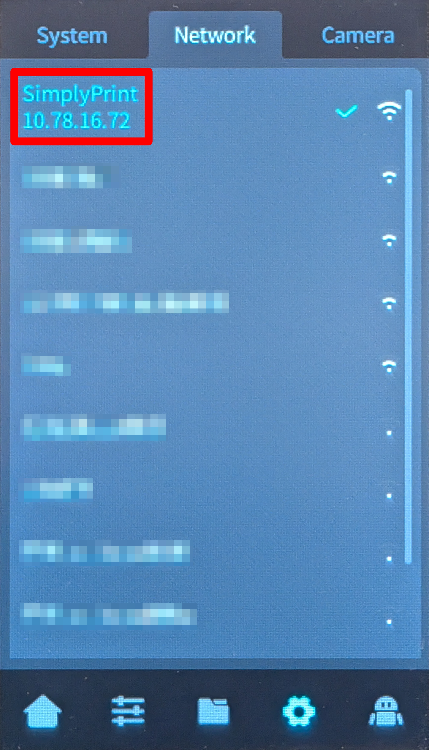
Yes, this is the annoying technical part. We're sorry — we've tried everything to avoid it, but your device simply doesn't give us another option.
But here's the thing: it's easier than it looks. You're just going to copy-paste a few commands. That's it. Pick your computer type below and follow the steps — we'll walk you through every click.
192.168.1.42).
Do not include http://, slashes, or port numbers.
ssh username@ip-address
ssh [email protected]
yes and press Enter
ssh username@ip-address
ssh [email protected]
yes and press Enter
ssh username@ip-address
ssh [email protected]
yes and press Enter
ssh username@ip-address
ssh [email protected]
yes and press Enter
ssh-keygen -R <ip-address>
While there are SSH apps available for Android and iOS, we recommend using a computer for SSH connections. A proper keyboard and screen make typing commands much easier.
ssh root@[IP_ADDRESS]
For example; ssh [email protected]
creality -
don't get confused by the password not showing up while you type it; that's normal ./installer.sh
http://[YOUR_IP]:[PORT], where: [YOUR_IP] is the IP address you noted earlier [PORT] is 4408 for Fluidd or 4409 for Mainsail http://192.168.0.42:4409 And that's it! Your Nebula Smart Kit is now running Klipper with SimplyPrint.
If you need to perform a factory reset, you can add an empty file named factory_reset (no file extension) to the USB stick, then turn off the Nebula, insert the USB stick, and turn it back on. Warning: This will permanently delete all user-installed software and custom configurations. Only Wi-Fi settings, printer identity, and essential system files will be preserved. For more details, see the GitHub repository.
Thousands complete this setup every week. Follow each step carefully - most issues come from skipping ahead.
You're now ready to connect your printer and start using SimplyPrint.
Create your free account