-
1 Readying Nebula Smart Kit
-
2 Set up
Set up Klipper and SimplyPrint on the Creality Nebula Smart Kit
The Nebula Smart Kit requires custom firmware to enable root access and install Klipper, SimplyPrint, and other tools. This guide will walk you through installing rooted firmware and setting up your system.
In this guide we will go through:
- Download and install the rooted firmware
- Find your Nebula's IP address
- Connect via SSH and run the installer
- Install Klipper, Moonraker, and SimplyPrint
- Enable camera settings
- Access your web interface
Use at your own risk
This custom firmware is provided as-is with no official support. Installing it may void your warranty and could potentially damage your device. For the most up-to-date information and troubleshooting, visit the GitHub repository.
1. Download and install the rooted firmware
- Download the latest
NEBULA_ota_img_V6.*.imgfile from the latest release on GitHub. - Transfer the
.imgfile to the USB stick that came with your Nebula. - Insert the USB stick into the Nebula.
- On the Nebula screen, press the "Upgrade" button when the firmware upgrade pop-up appears.
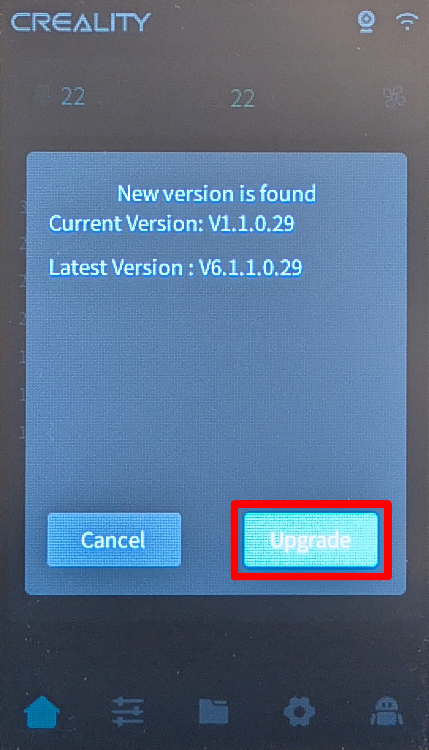
- Wait for the installation to finish. The Nebula will reboot automatically when complete.
2. Find your Nebula's IP address
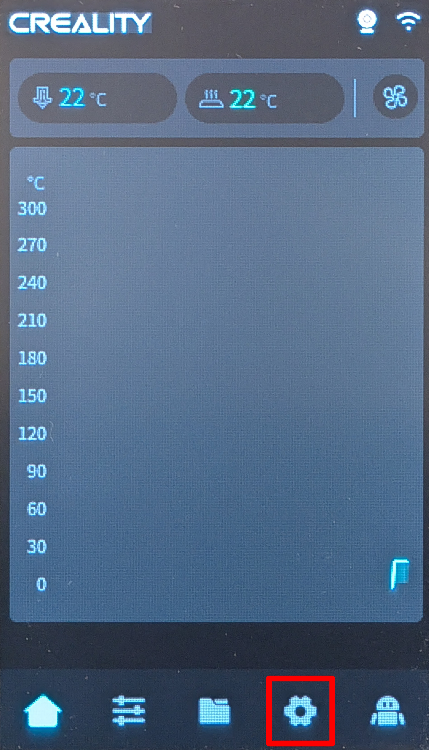
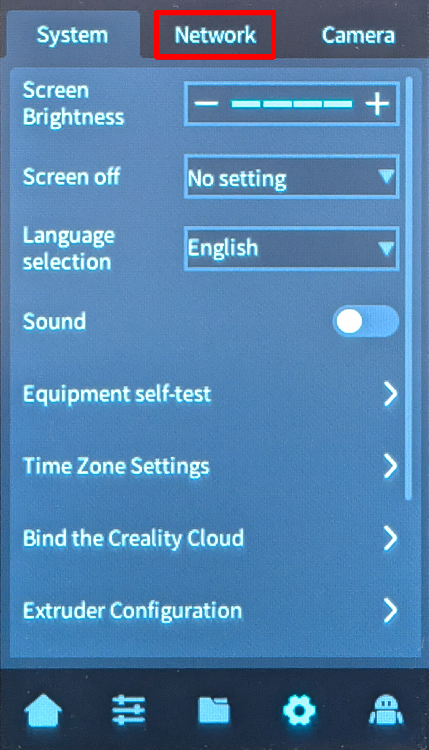
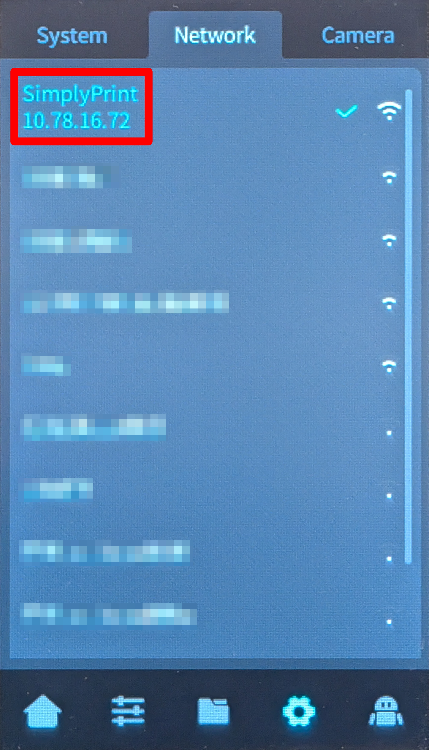
- On the touchscreen, navigate to "Settings" → "Network".
- Note down the IP address shown on the network screen (e.g.
192.168.0.42).
3. Connect via SSH and run the installer
- Open a terminal or SSH client on your computer.
- Connect to the Nebula using SSH with the IP address you noted:
ssh root@[IP_ADDRESS]
For example; ssh [email protected]
- When prompted for a password, enter:
creality- don't get confused by the password not showing up while you type it; that's normal - Once connected, run the Creality Helper Script:
./installer.sh
4. Install Klipper, Moonraker, and SimplyPrint
- When the script menu appears, choose "1) [Install] Menu".
- Install the following components in order:
- 1) Moonraker and Nginx
- 2) Fluidd (port 4408) or 3) Mainsail (port 4409) - choose your preferred interface (not sure which to pick? We recommend Mainsail)
- 5) Klipper Gcode Shell Command
- 10) Nebula Camera Settings Control
- 11) USB Camera Support
- 17) SimplyPrint
- Wait for each installation to complete before proceeding to the next.
5. Enable camera settings
- Return to the main menu of the Creality Helper Script.
- Navigate to "5) [Tools] Menu".
- Choose "3) Enable camera settings in Moonraker".
6. Access your web interface
- Open a web browser on your computer.
- Navigate to
http://[YOUR_IP]:[PORT], where:
[YOUR_IP]is the IP address you noted earlier[PORT]is4408for Fluidd or4409for Mainsail
- For example:
http://192.168.0.42:4409
And that's it! Your Nebula Smart Kit is now running Klipper with SimplyPrint.
Factory reset option
If you need to perform a factory reset, you can add an empty file named factory_reset (no file extension) to the USB stick, then turn off the Nebula, insert the USB stick, and turn it back on. Warning: This will permanently delete all user-installed software and custom configurations. Only Wi-Fi settings, printer identity, and essential system files will be preserved. For more details, see the GitHub repository.
That's it! You're all set
You're now ready to connect your printer and start using SimplyPrint.
Create your free account